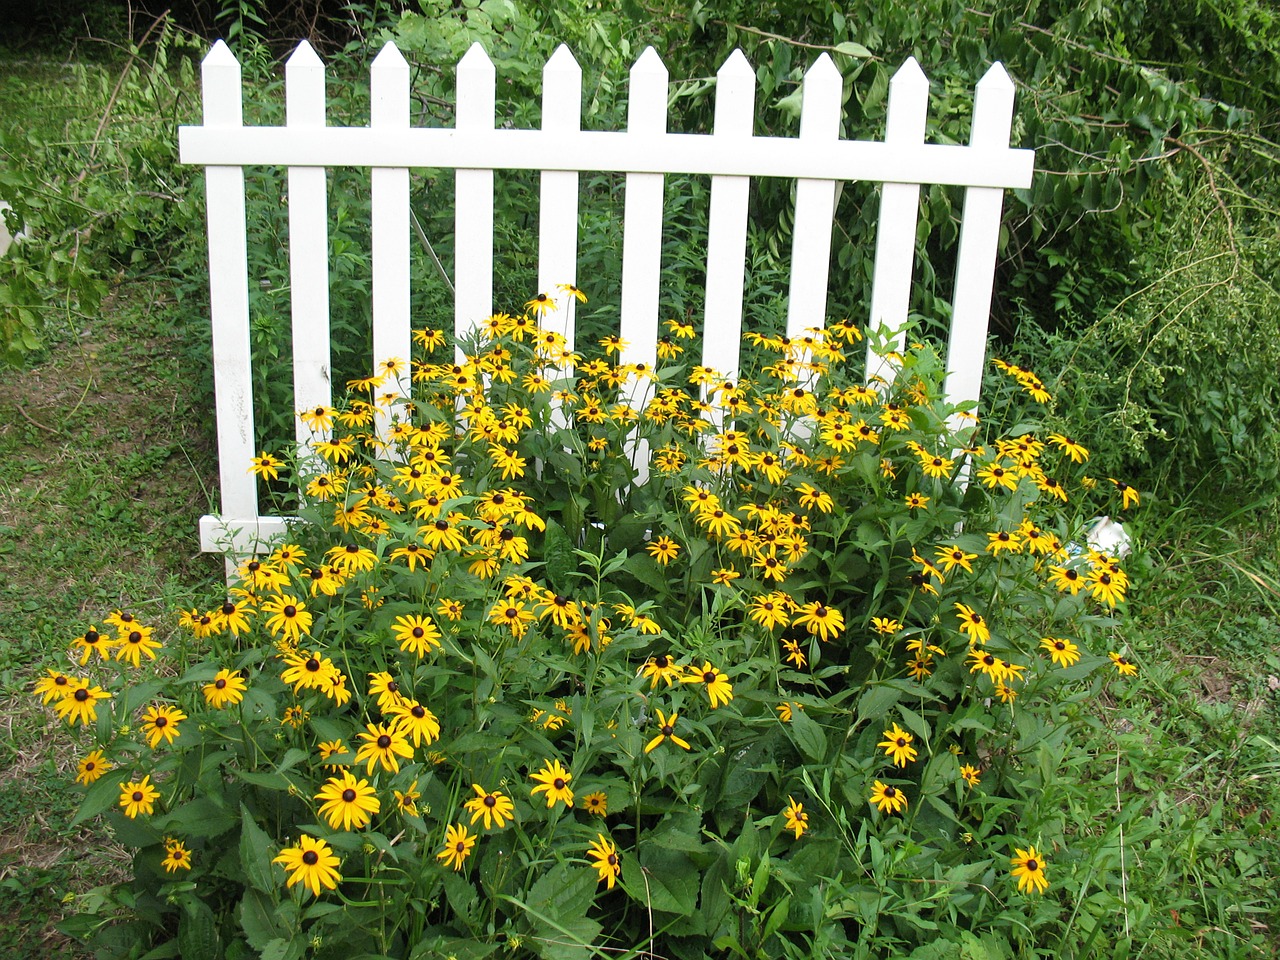
If you are planning on installing wooden palisade fencing, you will first need to clear and level the site along the path of the fence you are intending to install. If needs be clear any foliage from around the path to ensure you have enough space to work unencumbered.
Then it’s worth checking you have all the right tools to complete the task. These include a string line, a spirit level, a hammer, a spade, spare wood for supporting struts, a tape measure, marker pegs, a wood saw, appropriate screwdrivers, spanners, pencils, appropriate galvanised nails (so they don’t rust) plus a shuv-holer (post hole digger) or earth auger. Not everyone has these last two specialist tools to hand, in which case they can be hired at low cost from most tool hire companies https://www.oltools.co.uk/products/petrol-earth-auger-5
Method of installation
Firstly, you need to mark out the route of your fence, and you can do this easily using a string line and marker pegs. Spend time to make sure it is accurate as even a small deviation from the fixed line will be exaggerated visually once the fence is erected. Pay special attention to any corners or changes of direction.
When you have correctly marked out the fence’s positioning, and laid each post where it needs to be installed, start digging the hole for the first post (using the specialist hole digging equipment if you have it). Aim, using the right tools, to dig holes with vertical sides and a square-ish shape to adequately accommodate the size of the posts you are using. The hole needs to be deep enough to leave the height of the post above ground equal to the height of the fence plus a gap of 50mm underneath to allow for strimming.
Make sure the wooden posts you are using have been properly treated to avoid rotting and check the drainage in the area you are installing each post. When the hole is the correct depth, stand the post in the hole on a gravel base consisting of 5-10 cm of gravel at the bottom of each post hole and compact it. This will give each post a solid foundation to rest on and will also provide good drainage for the concrete base.
Then ensuring the post is in the right position, at the right angle and completely straight (using your spirit level) either hold the post in position (with a helper) or use wooden struts roughly nailed in place to ensure the wooden post stays in the correct position without shifting. Then either pour pre-mixed ‘postcrete’ into the hole as directed on the manufacturer’s instructions or use your own concrete mix based on an 8:1 mix of ballast and cement. When the concrete has been poured in ensure again that the post is in the correct position and keep it in place until the concrete has set. It is best to leave the concrete to set for at least a day before continuing with your installation.
To add an additional layer of protection from water, as the concrete dries, use a trowel to shape the top of the concrete so that water will run away from the post (a rough pyramid shape with the post at the apex). It is a good idea to finish the concrete at around 5cm below ground level in the hole so that some of the earth you have extracted to make the hole can be packed around the base of the post to make it flat and neat at ground level, without the unsightly concrete base showing.
Then you will need to select the correct number of pales https://mcveighparker.com/pales-nail-on (the vertical wooden railings with shaped, pointed or flat tops) for each section of your fence. You will need to use a drill and screws to fix the horizontal wooden rails in place or possibly use bolts if these are supplied in a kit by the manufacturer. Simply line up the pales one by one and affix them to the horizontal rails in a uniform way. If your horizontal rails lack bolt holes, use the manufacturer’s instructions to determine the measurements between each pale. Repeat this process for each pale until you have all pales fixed in place ensuring throughout that set distances are maintained for every pale.
Also fix a support footer to the centre pale of each section of fence, either to the lower horizontal rail or to the centre pale itself. This will strengthen the weakest part of the fence by supporting the load evenly. It will also improve the impact resistance of each section of fencing.
Installed properly, your new palisade fence should provide years of service.
Leave a Reply